
01
Start with your space
Share rooms, ZIP, approximate area, existing flooring, goals and constraints. Use the project-brief builder or email.
Service coverage and next steps are confirmed in conversation.
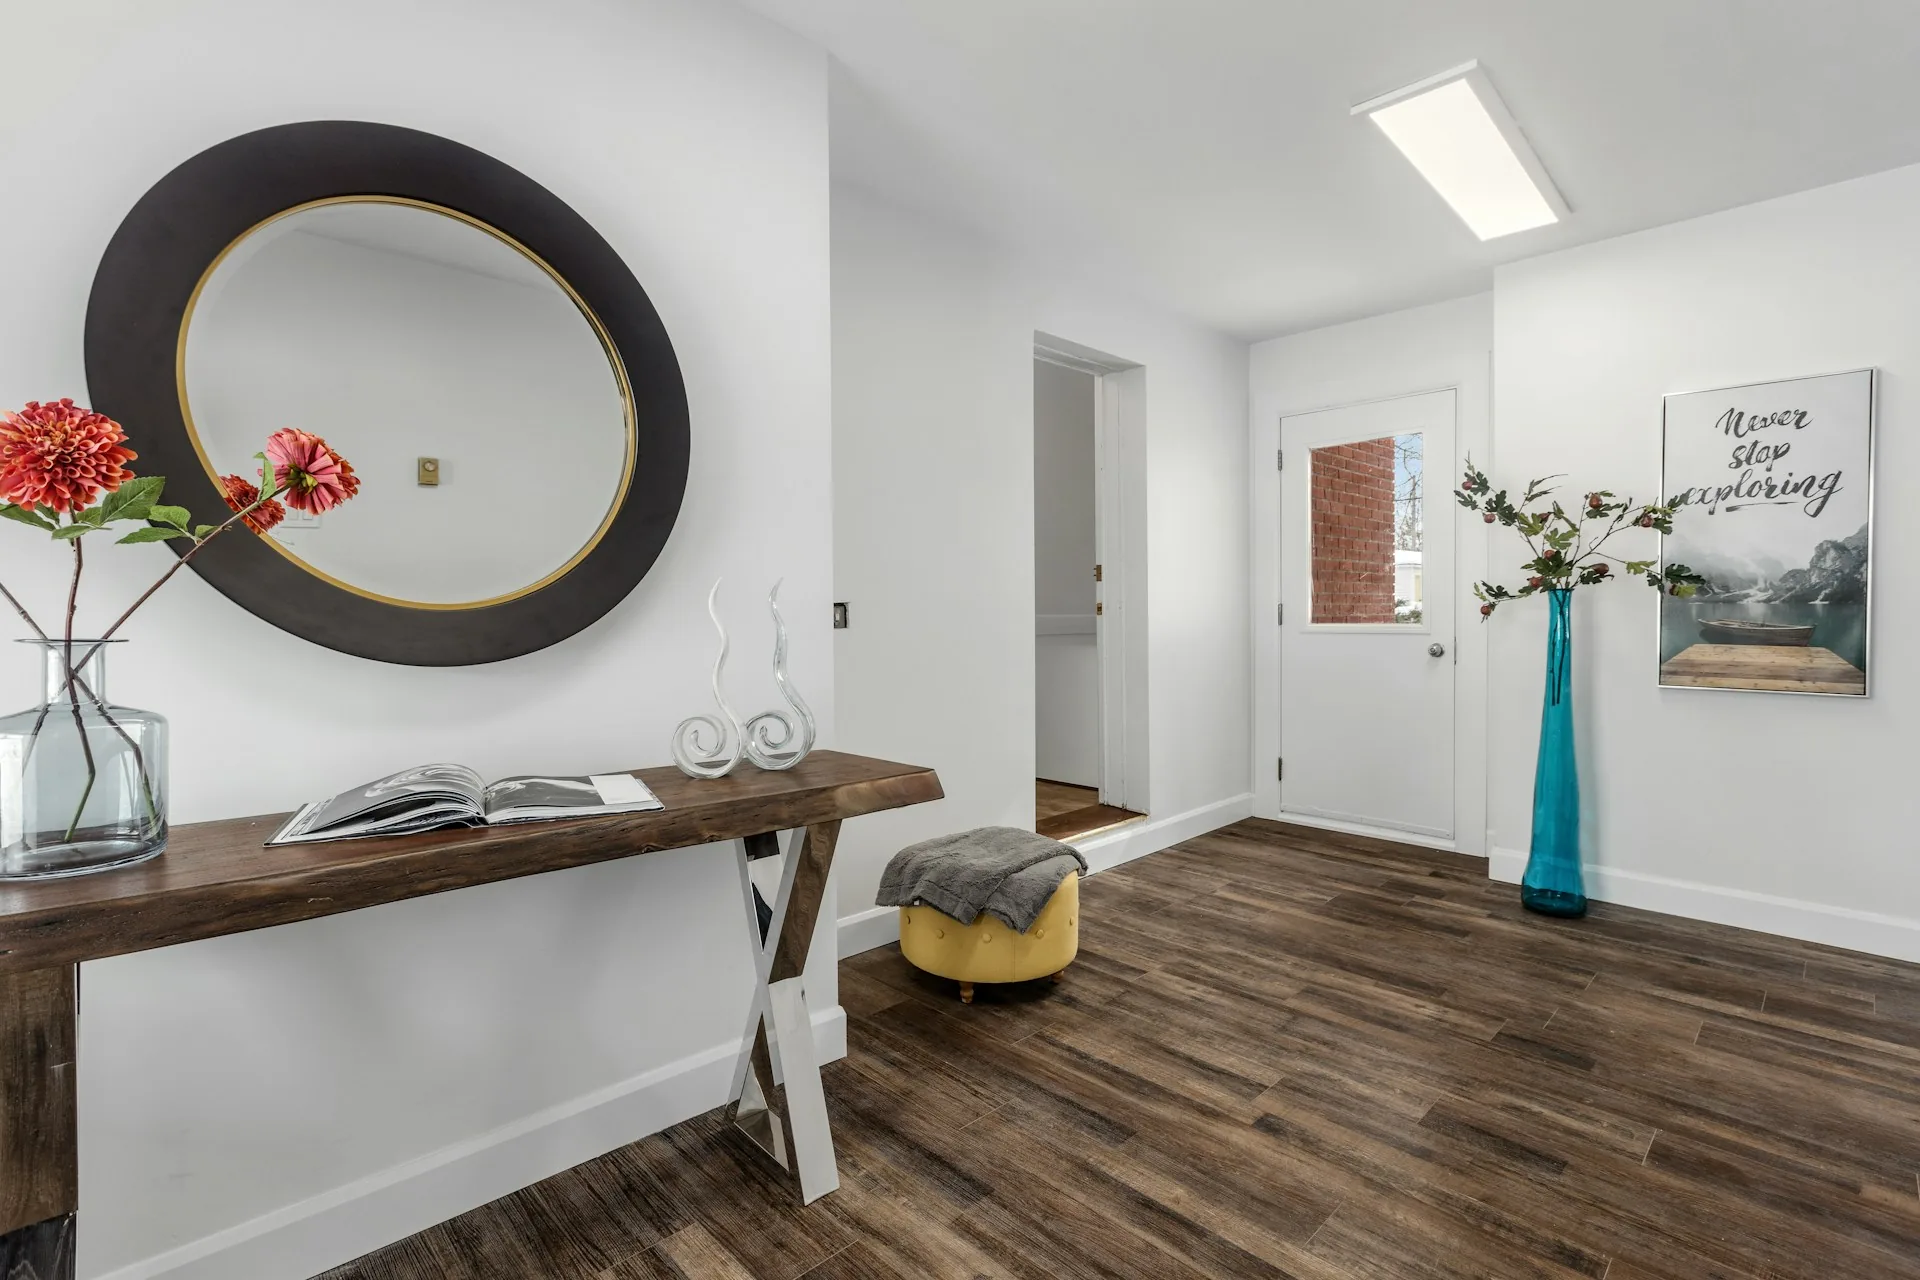
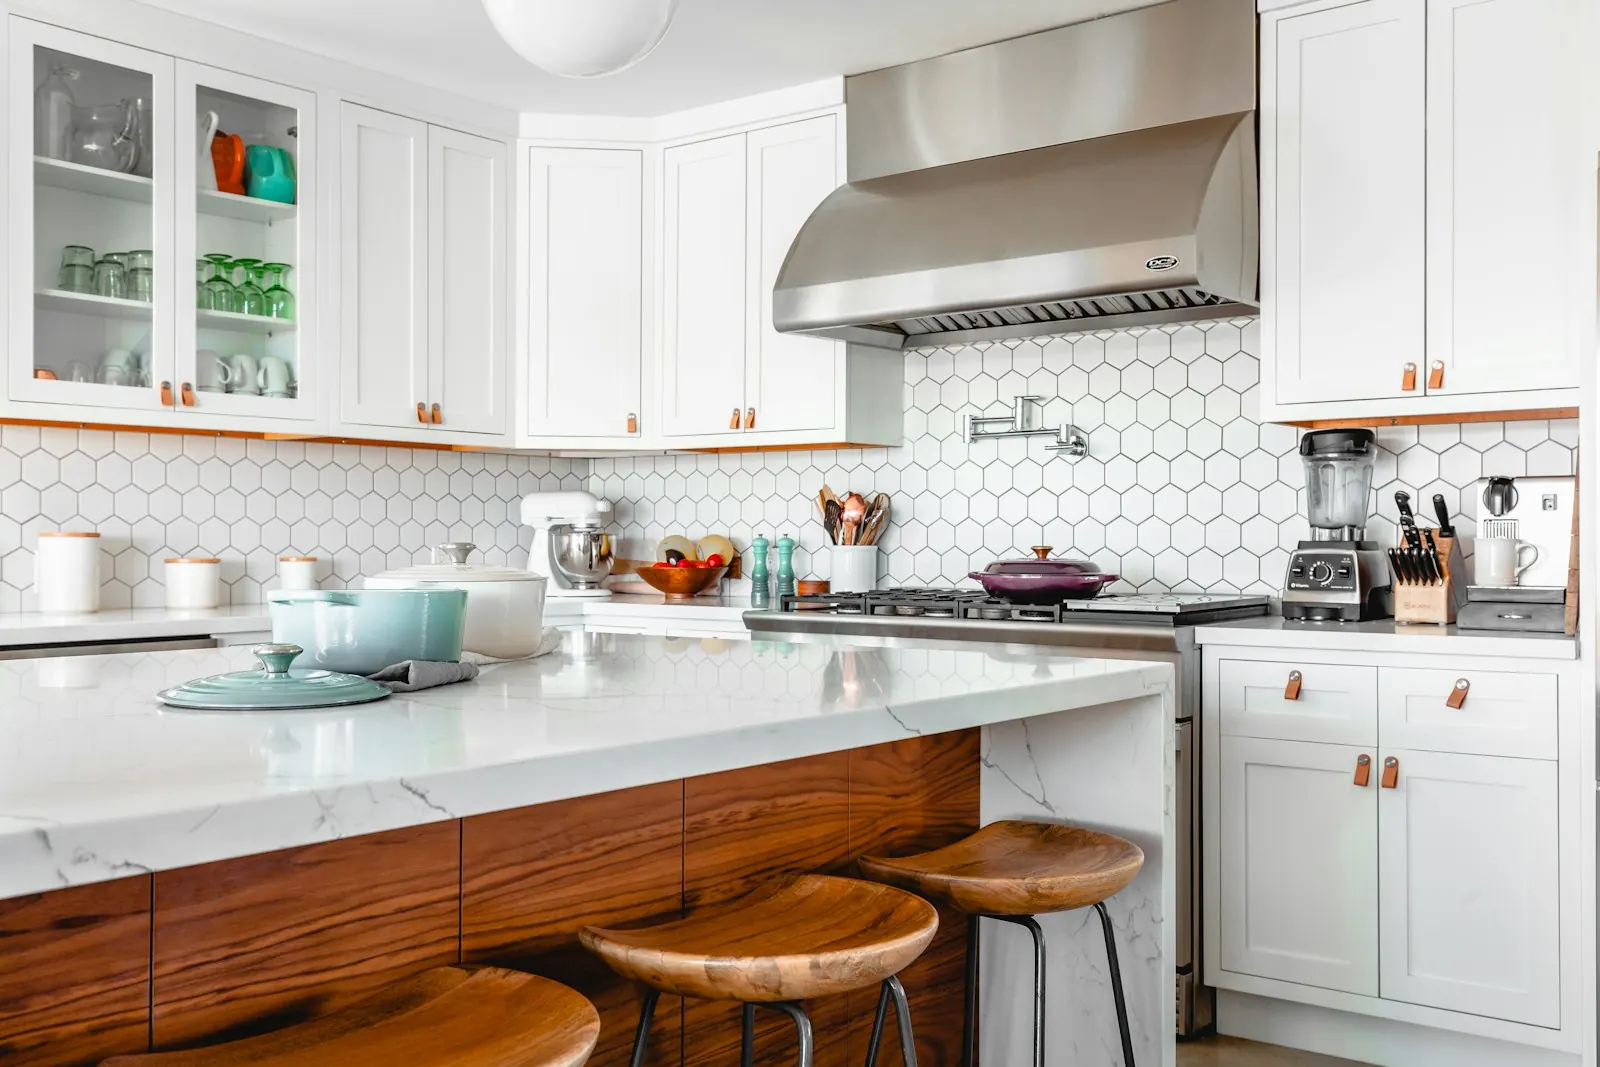 Design inspiration · stock imagery
A practical planning path from your first question to a defined flooring scope. Each project’s arrangements are confirmed directly.
Every step makes one more thing explicit: the room, the substrate, the material, the scope and the care that follows.
Share rooms, ZIP, approximate area, existing flooring, goals and constraints. Use the project-brief builder or email.
Service coverage and next steps are confirmed in conversation.
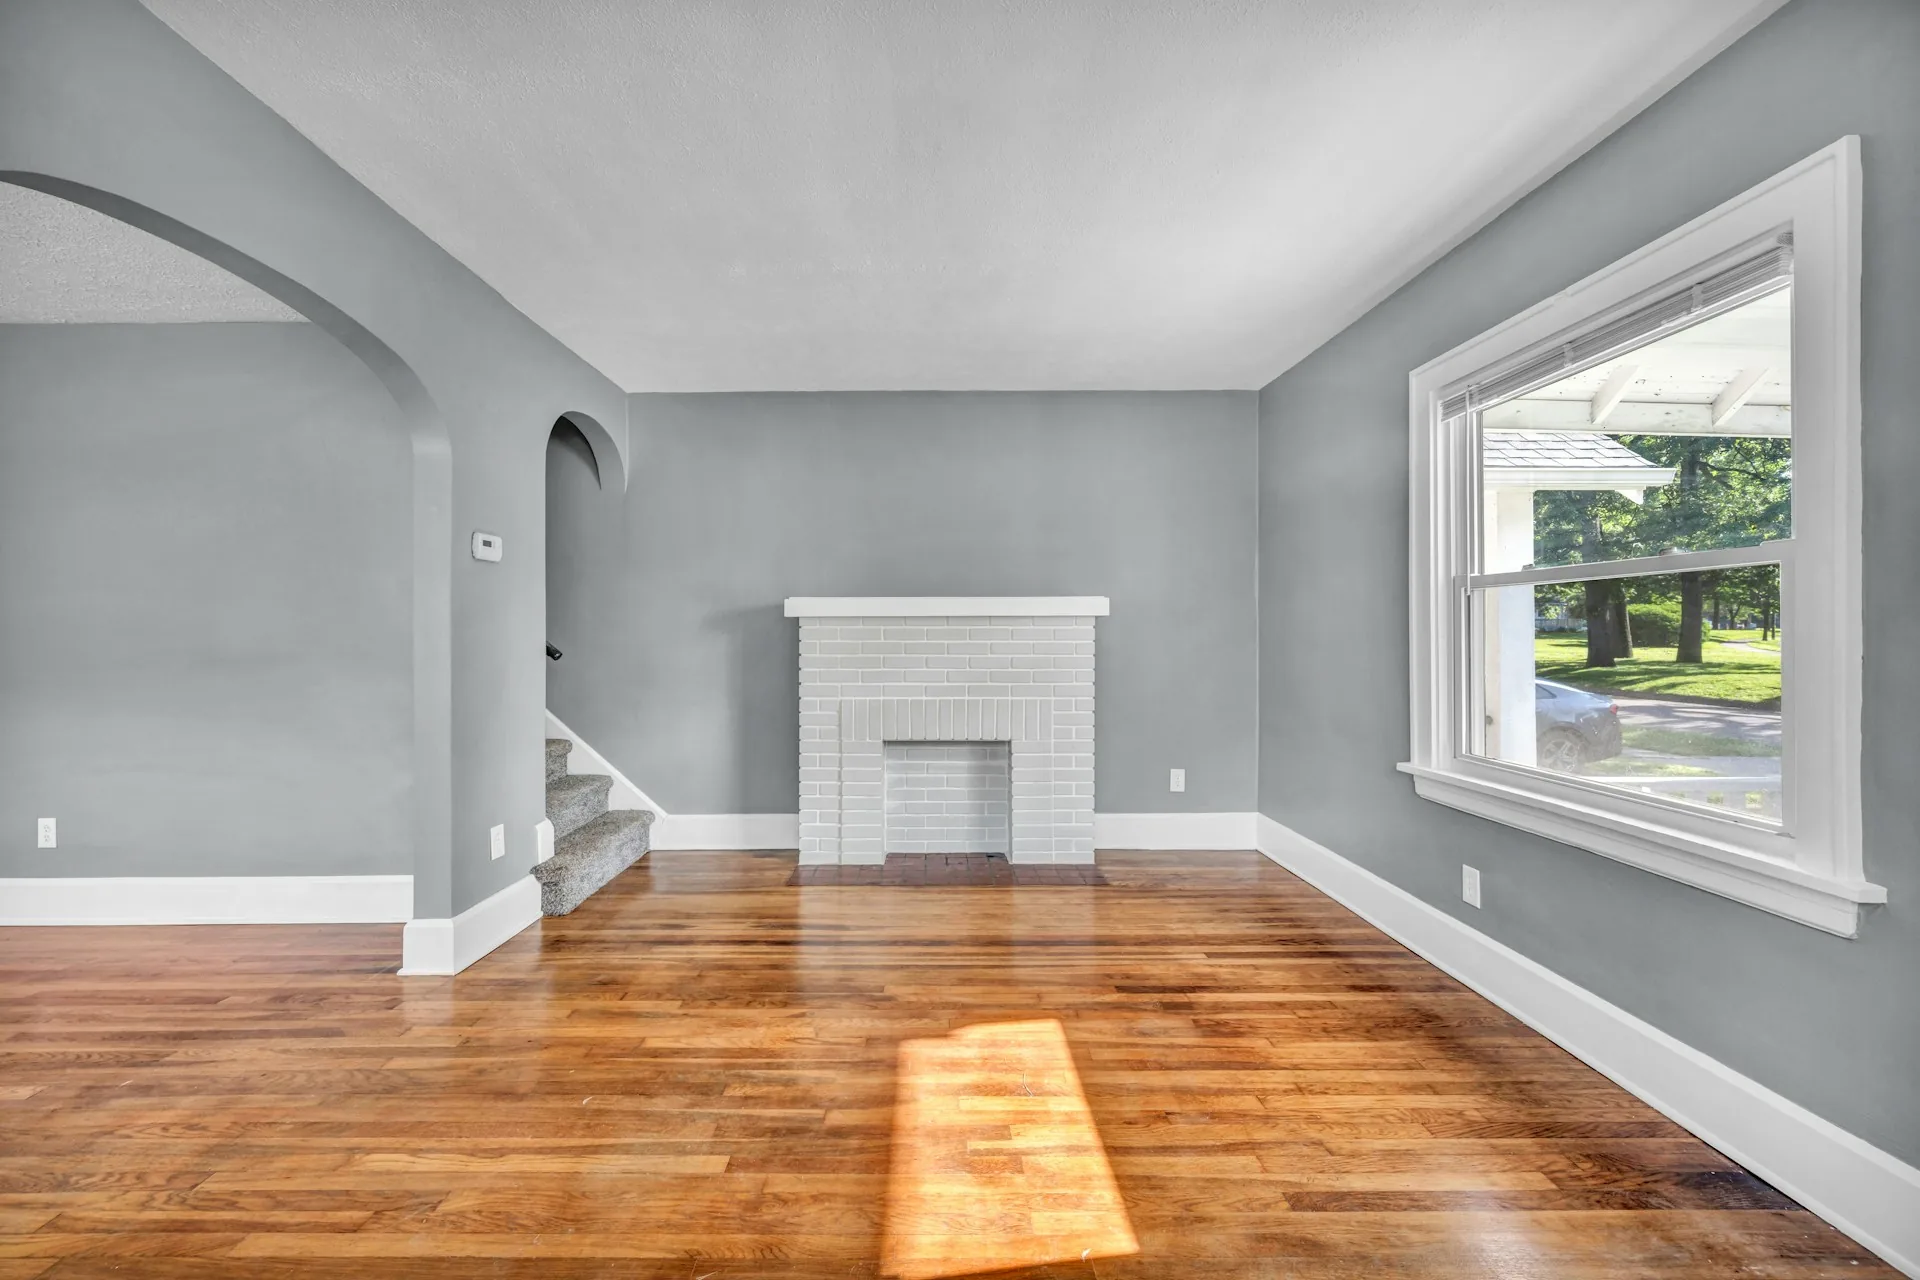
Discuss an assessment of dimensions, substrate, moisture, flatness and access.
Photos can inform a conversation but do not replace a site assessment. No appointment is booked on this site.

Narrow the choice against room use, care expectations and product requirements.
Confirm sample options, material procurement and who is responsible for ordering.

Review inclusions, exclusions, preparation, trim, removal and disposal. Confirm pricing, payment terms and schedule directly before authorizing work.
Unknown conditions need an agreed change process.
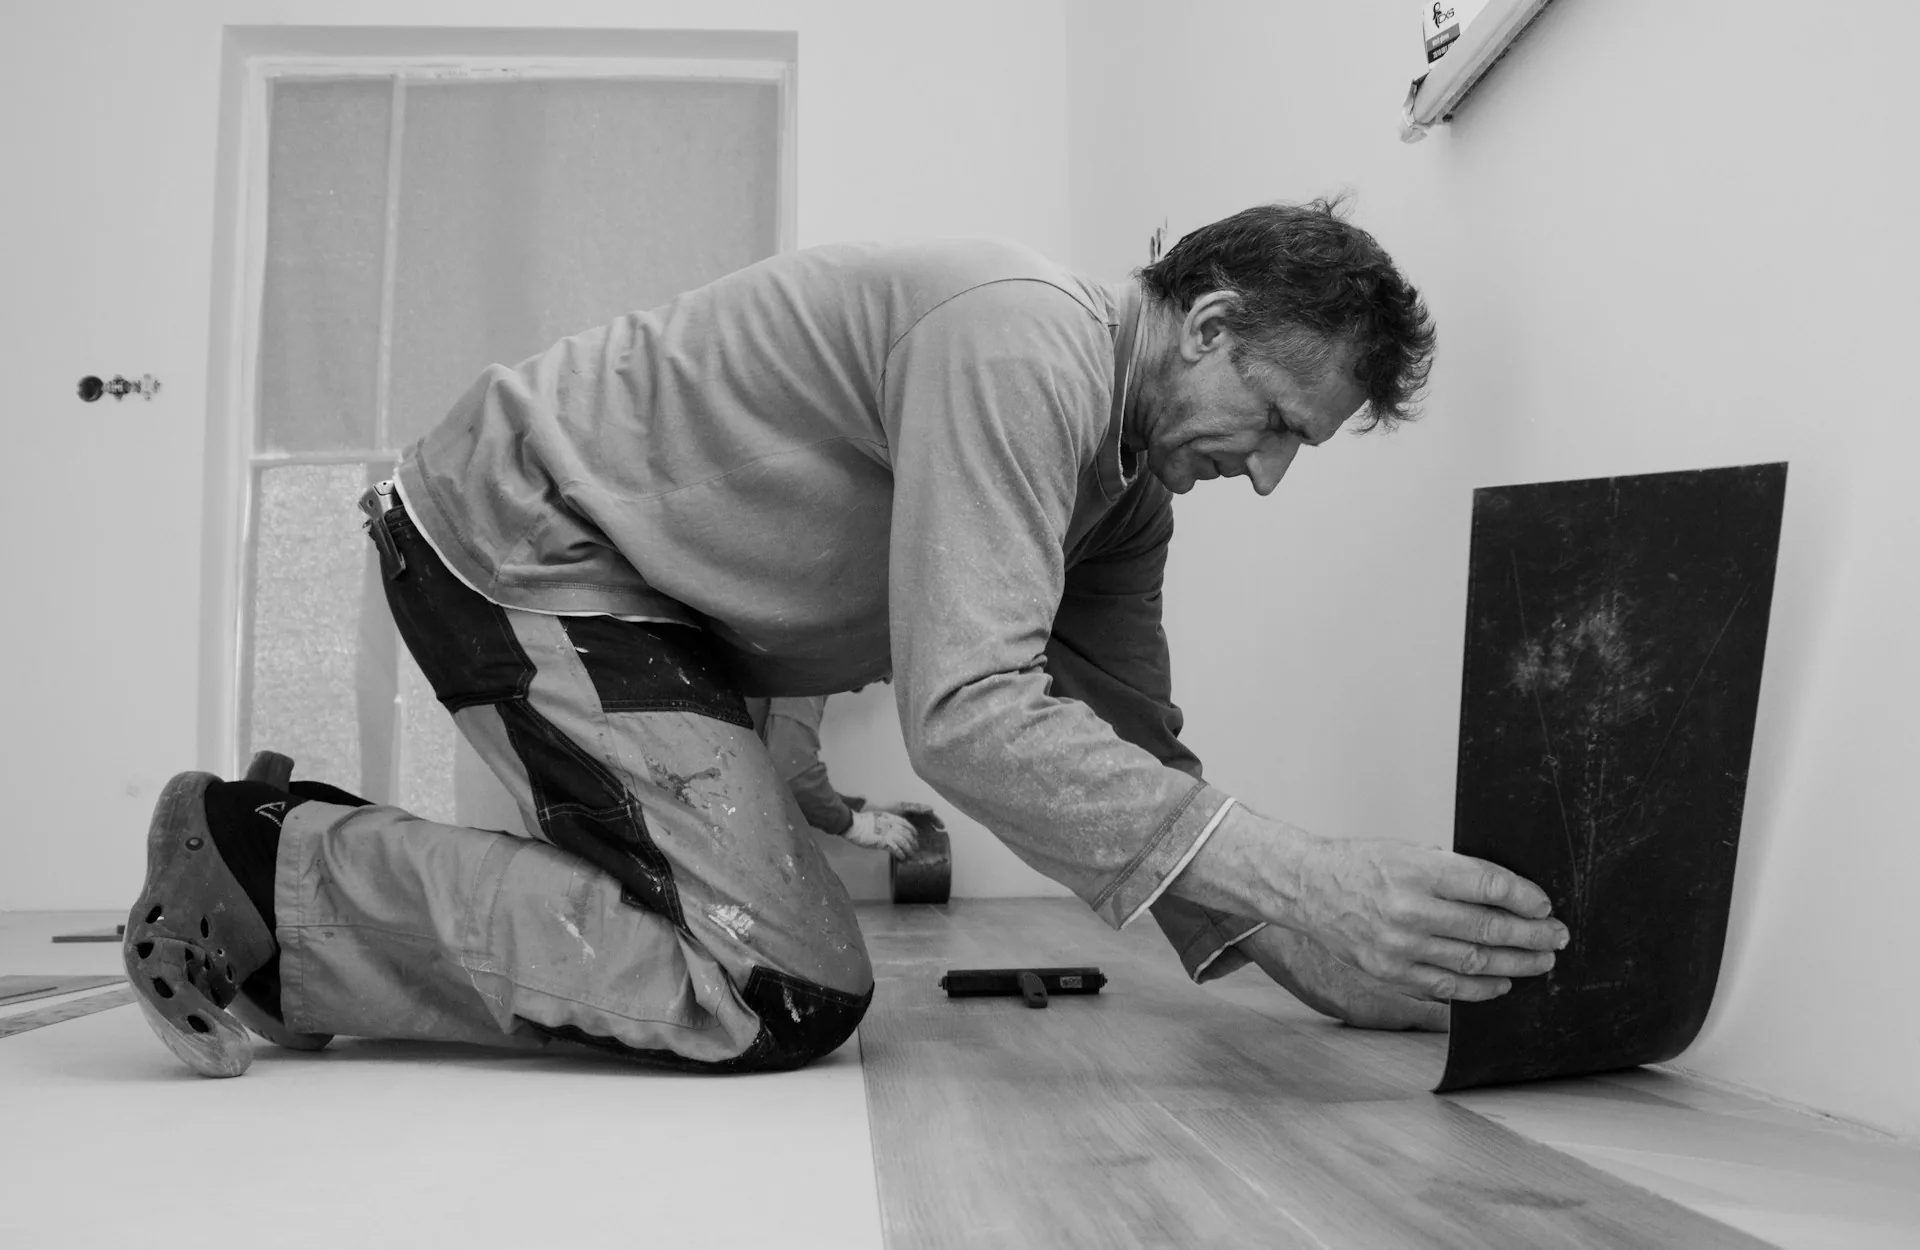
Confirm furniture and access arrangements and any required conditioning. Installation planning follows the chosen product and site conditions.
Unresolved moisture or structural issues may require separate work first.
Review edges, stairs and transitions alongside the field of flooring. Document remaining items.
Keep the product details, care instructions and any applicable written terms.
Don’t assume. Ask for each of these to be named in the written scope before work is authorized.

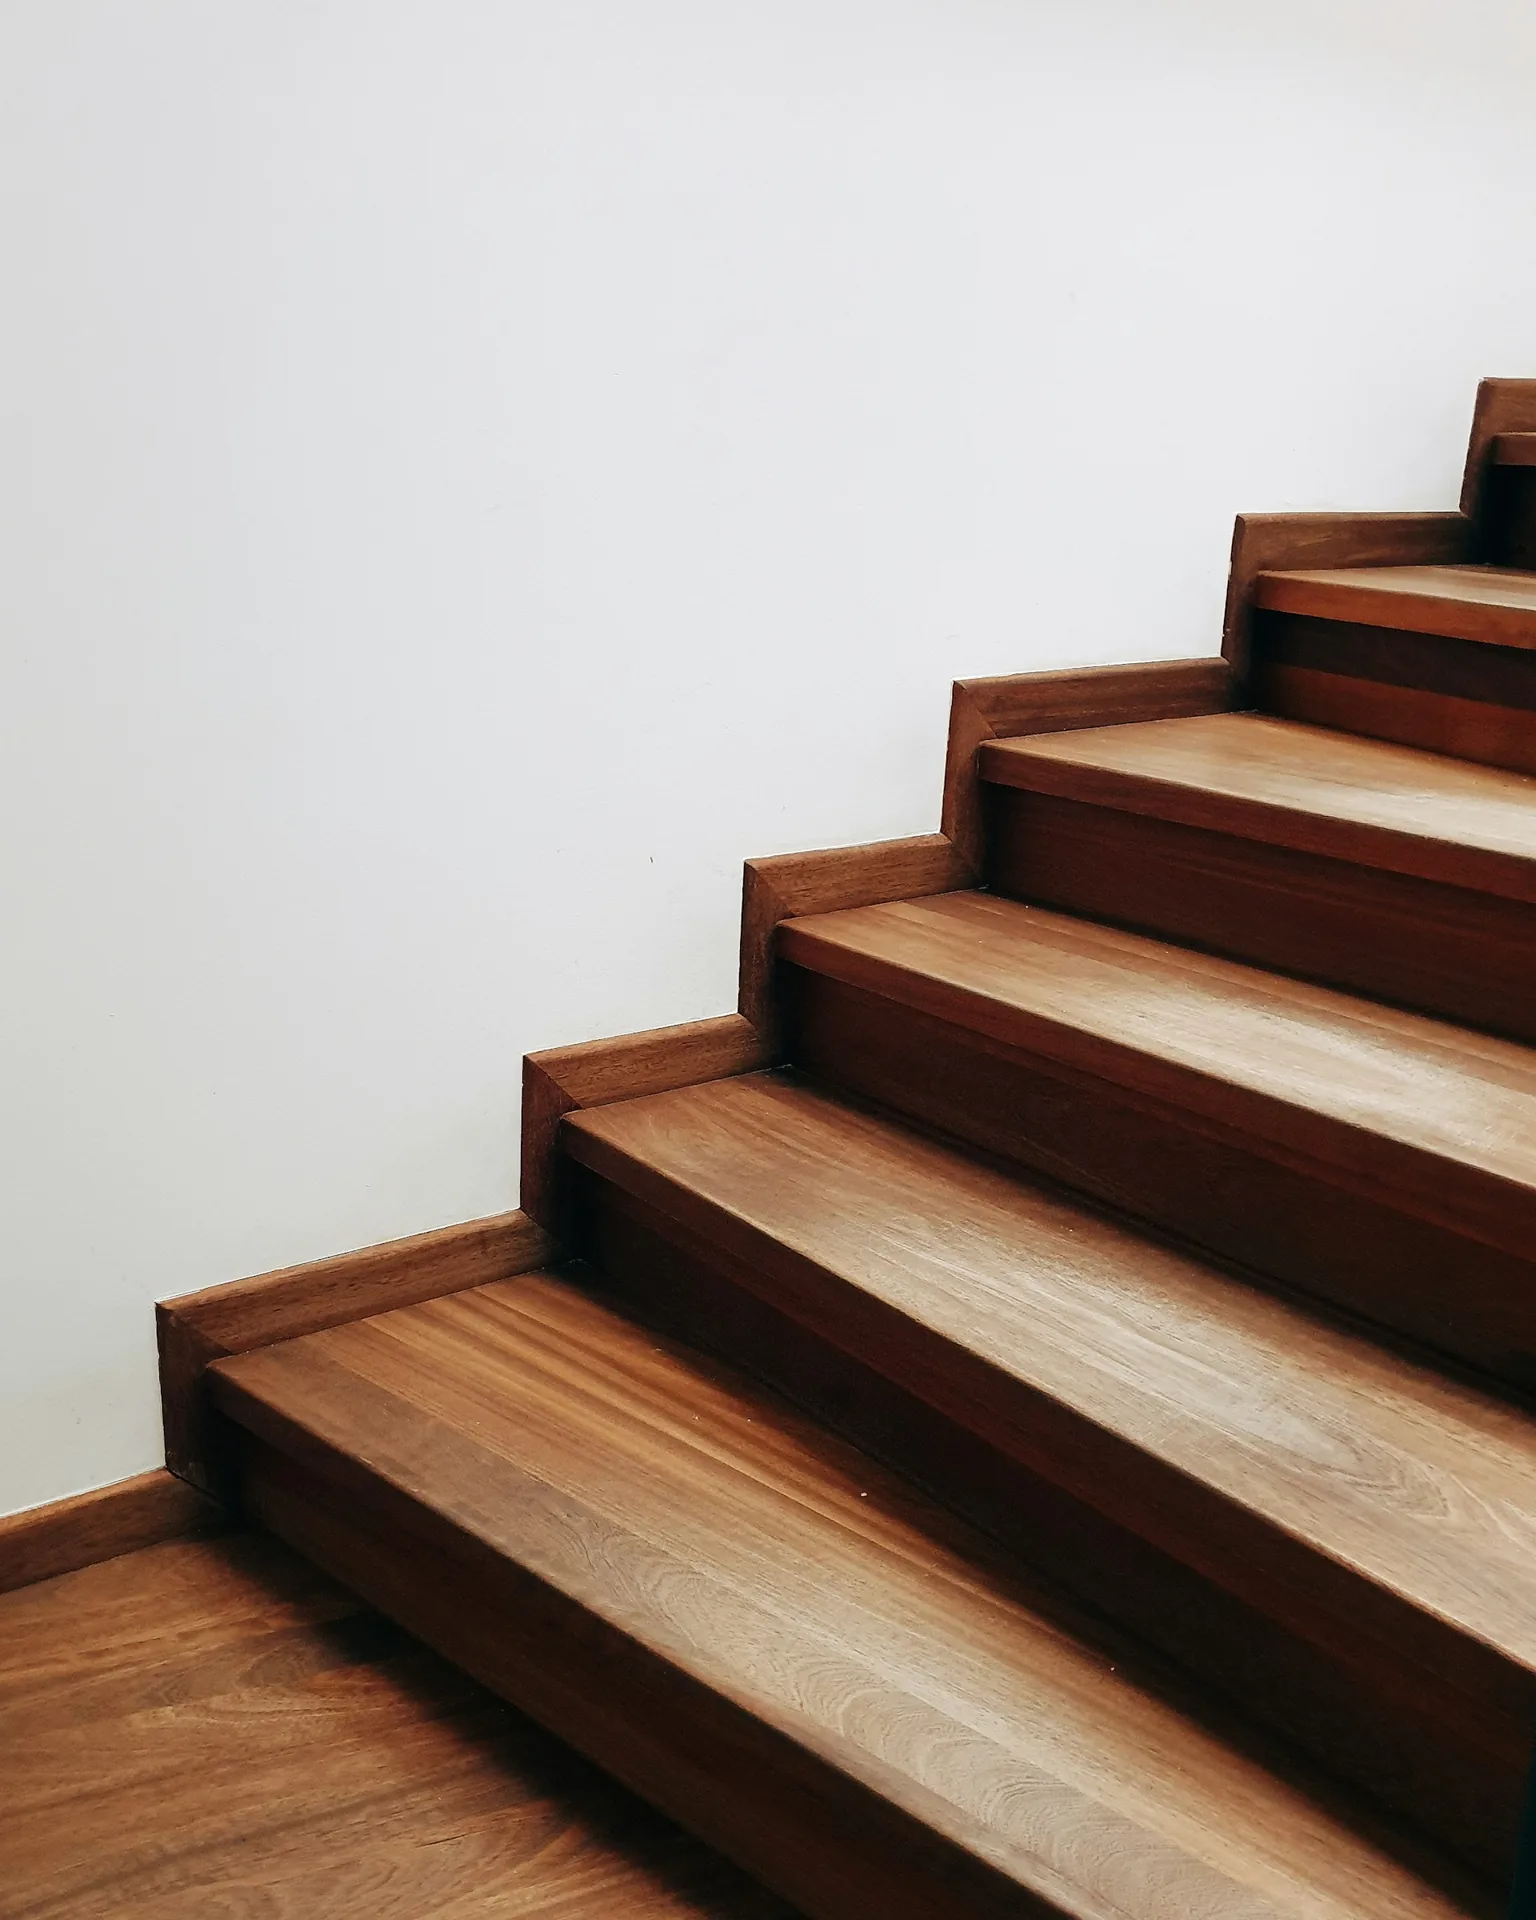
Share photos in your own email app if you like. Dimensions, substrate, moisture, flatness and access still need to be assessed.
What’s under an old floor isn’t always known. Agree how unexpected conditions are documented and approved before additional work.
Unresolved moisture or structural issues may require separate work first. A water-resistance claim is not a moisture-control system.
Tell us about the space, the way you live and what you’d like to change. Start with a project brief, not a commitment.